茶叶手机网站建设seo教学培训
写在开头
哈喽,各位倔友们又见面了,本章我们继续来分享一个实用小技巧,给图片加水印功能,水印功能的目的是为了保护网站或作者版权,防止内容被别人利用或白嫖。
但是网络中,是没有绝对安全的,我们只能尽可能去完善安全机制,像水印功能也只能是防君子,防不了小人。
下面小编画了一张添加水印的简易流程图:
绘制图片
接下来,进入文章主题,既然是要给图片添加水印,那么我们先来把图片绘制到 canvas 上,具体如下:
<template><div><input type="file" @change="upload" /><br /><br /><canvas id="canvas" /></div>
</template><script> export default {methods: {upload(e) {const file = e.target.files[0];if (<img src="http://localhost:8081/0cd115e2-9d4a-4c67-a86b-77e84d6f61dbconst img = new Image();img.src = filePath;img.onload = () => {this.addWaterMark(img);}},addWaterMark(img) {// const canvas = document.createElement('canvas');const canvas = document.getElementById('canvas');const imgWidth = img.width;const imgHeight = img.height;canvas.width = imgWidth;canvas.height = imgHeight;const ctx = canvas.getContext('2d');ctx.drawImage(img, 0, 0); // 绘制图片}}" style="margin: auto" />
}; </script><style scoped> #canvas {border: 1px solid red;
} </style>
整体代码不难,为了方便演示,小编直接把 canvas 放在 template 中,但真实使用场景下你可以使用 document.createElement('canvas') 来创建 Dom 并在使用结束后删除相关 DOM,这样才是比较好的方式唷。(✪ω✪)
还有就是使用 ctx.drawImage(image, sx, sy, sWidth, sHeight, dx, dy, dWidth, dHeight) API 来绘制图片。
作为一名前端人员小编希望你对 canvas 多多少少要有一点了解哦,不能说精通,但是基础知识咱们要掌握哦。
绘制水印
把图片绘制到 canvas 后,接下来我们来把水印也给整上。
<script>
export default {methods: {upload(e) { ... },addWaterMark(img) {const canvas = document.getElementById('canvas');const imgWidth = img.width;const imgHeight = img.height;canvas.width = imgWidth;canvas.height = imgHeight;const ctx = canvas.getContext('2d');ctx.drawImage(img, 0, 0);// 画笔样式ctx.textAlign = 'left';ctx.textBaseline = 'top';ctx.font = '12px Microsoft Yahei';ctx.fillStyle = 'rgba(255, 255, 255, 0.3)';ctx.fillText('橙某人', 0, 0);ctx.fillText('2022年11月22日 09:22:30', 0, 20);}},
};
</script>
上图左上角能看到我们很简单就把水印加上了,当然,这还达不到产品经理的要求,我们需要把水印平铺开来,防止别人轻易通过截图就把水印清除了。
绘制平铺水印
而这个平铺过程也很简单,只要循环去改变 ctx.fillText(text, x, y); 的 x 和 y 就行了,且来看看小编是如何来做的:
<script>
export default {methods: {upload(e) { ... },addWaterMark(img) {const canvas = document.getElementById('canvas');const imgWidth = img.width;const imgHeight = img.height;canvas.width = imgWidth;canvas.height = imgHeight;const ctx = canvas.getContext('2d');ctx.drawImage(img, 0, 0);// 画笔样式ctx.textAlign = 'left';ctx.textBaseline = 'top';ctx.font = '12px Microsoft Yahei';ctx.fillStyle = 'rgba(255, 255, 255, 0.3)';// ctx.fillText('橙某人', 0, 0);// ctx.fillText('2022年11月22日 09:22:30', 0, 20);// 平铺水印const name = '橙某人';const date = '2022年11月22日 09:22:30';const height = 120;const width = 200;let i = 0;let j = 0;const waterMarkerWidth = ctx.measureText(name).width;ctx.rotate(-20 * Math.PI / 180);for (i = 0; i <= imgWidth / (waterMarkerWidth) + 100; i++) {for (j = 0; j <= imgHeight / (height - 20) + 100; j++) {const x = i * (waterMarkerWidth + width) - 100;if (j === 0) {ctx.fillText(name, x, -height, imgWidth);ctx.fillText(date, x, -height + 20, imgWidth);}ctx.fillText(name, x, j * height, imgWidth);ctx.fillText(date, x, j * height + 20, imgWidth);}}}},
};
</script>

我们先不细看代码具体细节过程,上面小编放了两张图片,图中可以看出,水印是平铺开来了,但是效果可能有点差强人意。因为这里在绘制过程中需要考虑的因素比较多,比如图片大小、水印文字大小、长短、间隔、旋转角度等等。
特别是 ctx.rotate(deg); 旋转角度是比较麻烦的,它是将整个画布进行(canvas)旋转的,我们要旋转水印,也只能通过该 API 来实现。但是由于是整个画布的旋转,这会造成 ctx.fillText(text, x, y); 的 x 和 y 的变动,很难达到我们想要的效果。

虽然也能通过复杂的计算来得到正确的坐标位置,但是会比较麻烦,小编是个怕麻烦的人,不想一个小需求写太多复杂的东西,这不符合我"程序和人一个能跑就行"的理念。(✪ω✪)
但是,秉着有始有终的原则,还是在网上寻找了很久,还是想看看有没有相关比较完善的算法逻辑过程,可惜无果。
(如果你有比较好的做法,欢迎你在评论给小编分享一下,感谢非常感谢)
那么,这就结束了吗?
当然还没有-.-。
使用 ctx.createPattern 绘制平铺水印
经小编摸鱼得知,canvas 还有一个 ctx.createPattern API 可以用于绘制重复的内容,就和背景图片的 background-repeat: 'repeat' 属性效果一样。
那么这不就简单多了,还瞎整啥,且继续来看代码:
<script>
export default {methods: {upload(e) { ... },addWaterMark(img) {const canvas = document.getElementById('canvas');const imgWidth = img.width;const imgHeight = img.height;canvas.width = imgWidth;canvas.height = imgHeight;const ctx = canvas.getContext('2d');ctx.drawImage(img, 0, 0);// 平铺水印const canvasWater = document.createElement('canvas');const waterMarkSize = 200; // 水印大小canvasWater.width = waterMarkSize;canvasWater.height = waterMarkSize;const ctxWater = canvasWater.getContext('2d');ctxWater.textAlign = 'left';ctxWater.textBaseline = 'top';ctxWater.font = '12px Microsoft Yahei';ctxWater.fillStyle = 'rgba(255, 255, 255, 0.3)';ctxWater.rotate(-20 * Math.PI/180);ctxWater.fillText('橙某人', 60, 80);ctxWater.fillText('2022年11月22日 09:22:30', 10, 100);ctx.fillStyle = ctx.createPattern(canvasWater, 'repeat'); // 绘制重复的水印ctx.fillRect(0, 0, canvas.width, canvas.height);}},
};
上面我们通过创建一个新的 canvas 用来专门绘制水印,然后把它交给原来 canvas 的 ctx.createPattern() 方法,该方法可以接收七种类型的参数,然后重复绘制出来。
利用这种方式来平铺水印,相比上一种方式,就比较简单一些了,是人能看得懂的代码了,也能满足产品需求了。
输出文件
最后,我们把 canvas 再转换 file 对象就大功告成了。
<script>
export default {methods: {upload(e) { const file = e.target.files[0];if (!file) return;const filePath = window.URL.createObjectURL(file); const img = new Image();img.src = filePath;img.onload = () => {const newFile = this.addWaterMark(img, file.name);console.log(newFile);}},addWaterMark(img, fileName) {const canvas = document.getElementById('canvas');const imgWidth = img.width;const imgHeight = img.height;canvas.width = imgWidth;canvas.height = imgHeight;const ctx = canvas.getContext('2d');ctx.drawImage(img, 0, 0);// 平铺水印const canvasWater = document.createElement('canvas');const waterMarkSize = 200; // 水印大小canvasWater.width = waterMarkSize;canvasWater.height = waterMarkSize;const ctxWater = canvasWater.getContext('2d');ctxWater.textAlign = 'left';ctxWater.textBaseline = 'top';ctxWater.font = '12px Microsoft Yahei';ctxWater.fillStyle = 'rgba(255, 255, 255, 0.3)';ctxWater.rotate(-20 * Math.PI/180);ctxWater.fillText('橙某人', 60, 80);ctxWater.fillText('2022年11月22日 09:22:30', 10, 100);ctx.fillStyle = ctx.createPattern(canvasWater, 'repeat'); ctx.fillRect(0, 0, canvas.width, canvas.height);const base64 = canvas.toDataURL('image/jpeg', 0.8)return this.dataURLtoBlob(base64, fileName)}},// base64转文件对象dataURLtoBlob(dataurl, name) {const arr = dataurl.split(',')const mime = arr[0].match(/:(.*?);/)[1]const bstr = atob(arr[1])let n = bstr.lengthconst u8arr = new Uint8Array(n)while (n--) {u8arr[n] = bstr.charCodeAt(n)}return new File([u8arr], name, {type: mime})}
};
最后
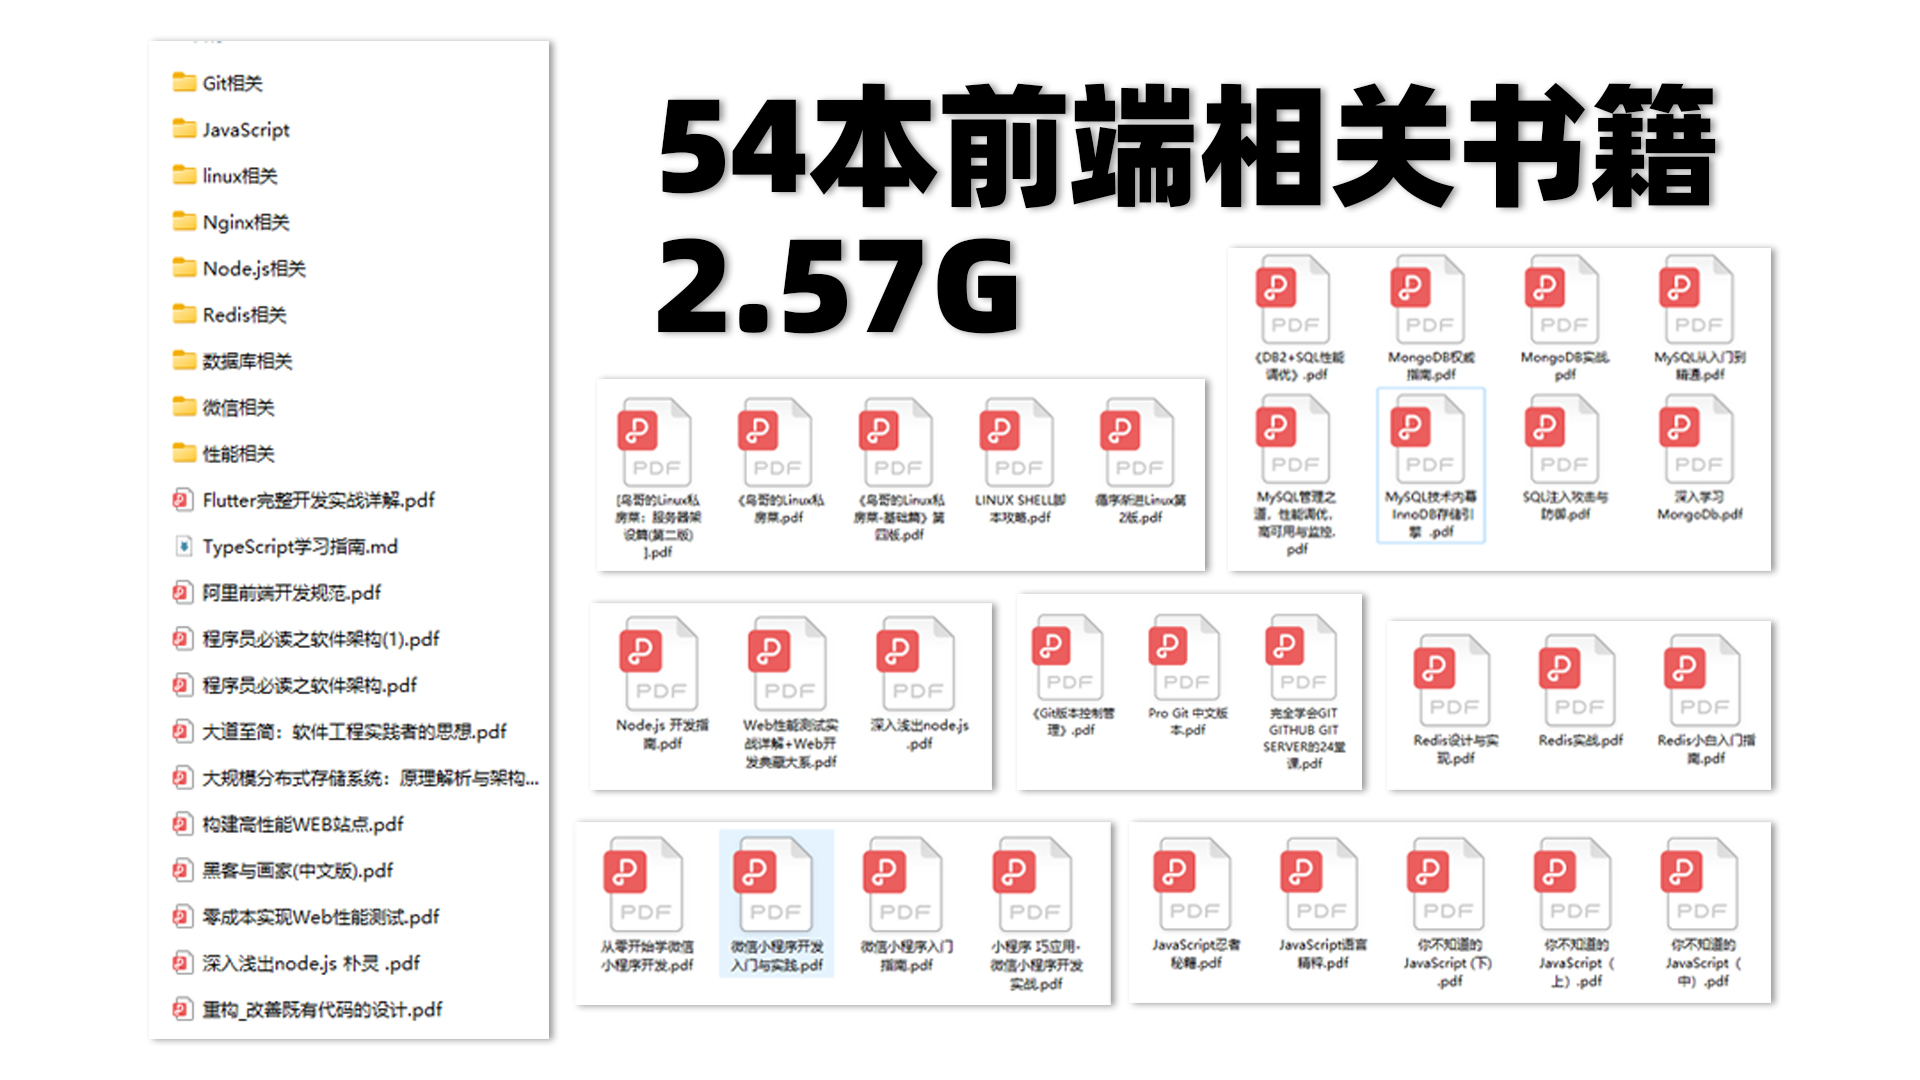
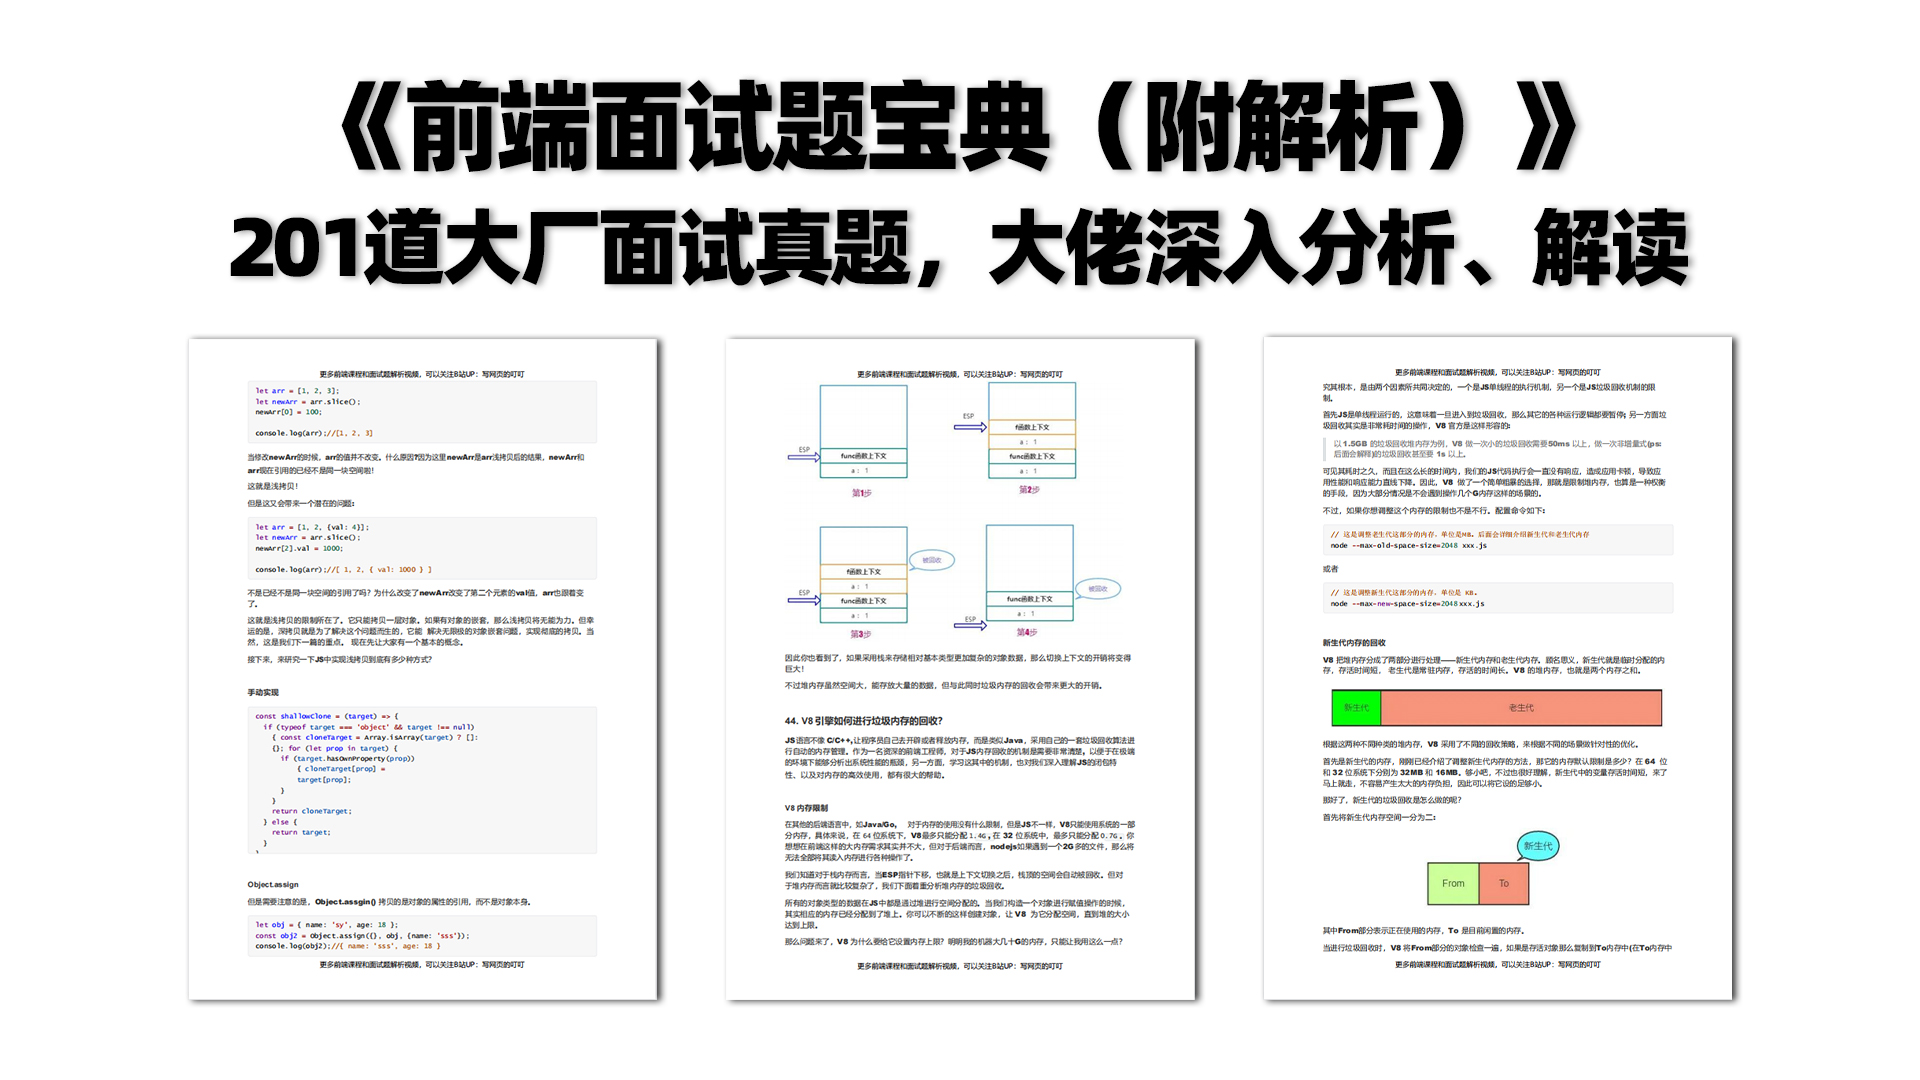
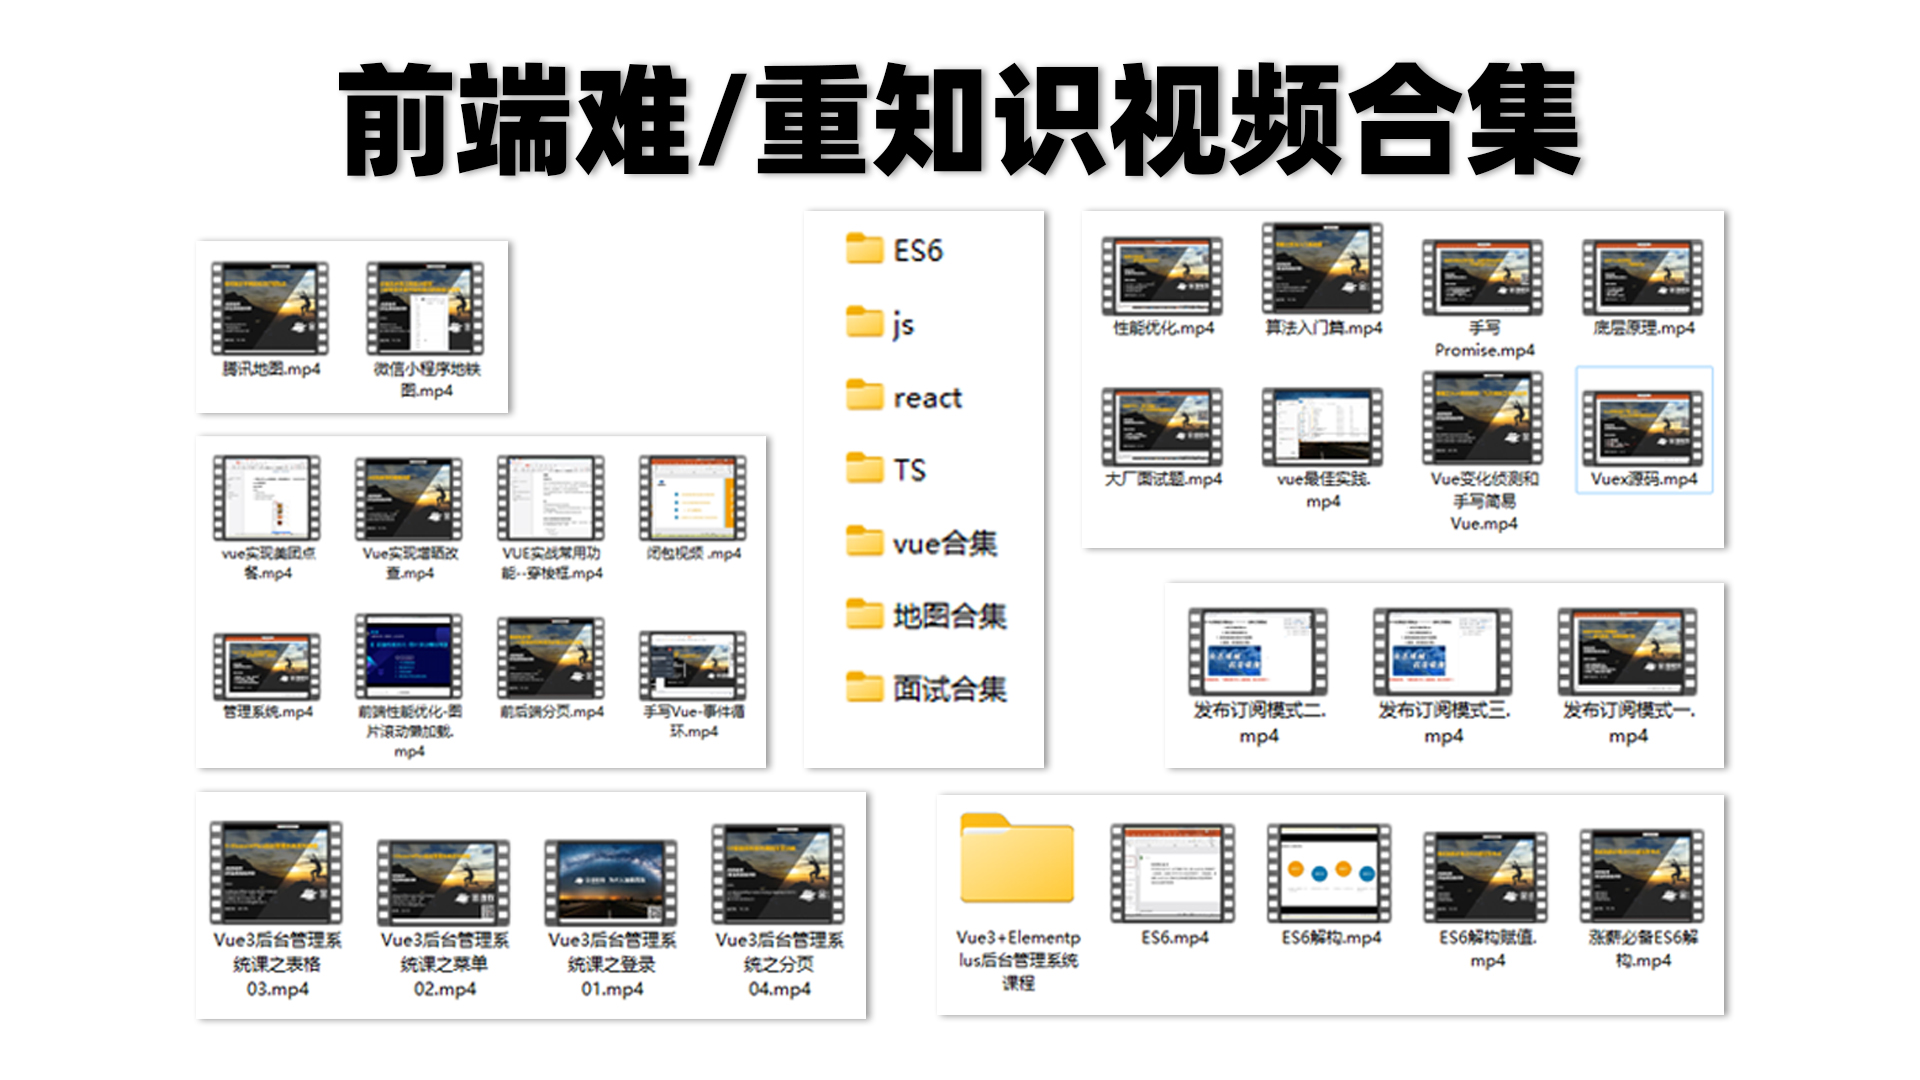
为大家准备了一个前端资料包。包含54本,2.57G的前端相关电子书,《前端面试宝典(附答案和解析)》,难点、重点知识视频教程(全套)。
有需要的小伙伴,可以点击下方卡片领取,无偿分享