b2c平台网站开发承接网络推广外包业务

pcl滤波器
pcl一共是有十二个主要模块,详细了解可以查看官网。https://pcl.readthedocs.io/projects/tutorials/en/latest/#basic-usage
今天学习一下pcl的滤波器模块。
滤波器模块,官网一共是提供了6个例程,今天先来看第一第二个。
直通滤波器
主要使用的API是 passthrough
#include <iostream>
#include <pcl/point_types.h>
#include <pcl/filters/passthrough.h>int
main()
{pcl::PointCloud<pcl::PointXYZ>::Ptr cloud(new pcl::PointCloud<pcl::PointXYZ>);pcl::PointCloud<pcl::PointXYZ>::Ptr cloud_filtered(new pcl::PointCloud<pcl::PointXYZ>);// Fill in the cloud datacloud->width = 50;    //点数量cloud->height = 1;		cloud->points.resize(cloud->width * cloud->height);//遍历点赋值,值为0-1024之间的随机浮点值for (auto& point : *cloud){point.x = 1024 * rand() / (RAND_MAX + 1.0f);point.y = 1024 * rand() / (RAND_MAX + 1.0f);point.z = 1024 * rand() / (RAND_MAX + 1.0f);}std::cerr << "Cloud before filtering: " << std::endl;for (const auto& point : *cloud)std::cerr << "    " << point.x << " "<< point.y << " "<< point.z << std::endl;// Create the filtering objectpcl::PassThrough<pcl::PointXYZ> pass;pass.setInputCloud(cloud);pass.setFilterFieldName("z");     //设置z为过滤因子pass.setFilterLimits(0.0, 200.0);	//只通过z轴值为0-200之间的点pass.filter(*cloud_filtered);std::cerr << "Cloud after filtering: " << std::endl;for (const auto& point : *cloud_filtered)std::cerr << "    " << point.x << " "<< point.y << " "<< point.z << std::endl;system("pause");return (0);
}
CMakeLists.txt
cmake_minimum_required(VERSION 3.5 FATAL_ERROR)project(passthrough)find_package(PCL 1.2 REQUIRED)include_directories(${PCL_INCLUDE_DIRS})
link_directories(${PCL_LIBRARY_DIRS})
add_definitions(${PCL_DEFINITIONS})add_executable (passthrough passthrough.cpp)
target_link_libraries (passthrough ${PCL_LIBRARIES})
体素滤波器降采样
即使用体素化网格方法,减少一个点云数据集中点的数量。
VoxelGrid 类在输入点云数据上创建一个3D体素网格(将体素网格想象为空间中的一组微小的3D盒子)。然后,在每个体素(即3D框)中,所有存在的点都将用它们的质心进行近似(即下采样)。这种方法比用体素的中心逼近它们要慢一些,但它更准确地表示底层表面。
感兴趣的可以去看看YouTube上的这个视频
https://youtu.be/YHR6_OIxtFI?t=24
程序中使用的pcd文件地址
https://raw.github.com/PointCloudLibrary/data/master/tutorials/table_scene_lms400.pcd
#include <iostream>
#include <pcl/io/pcd_io.h>
#include <pcl/point_types.h>
#include <pcl/filters/voxel_grid.h>int
main ()
{pcl::PCLPointCloud2::Ptr cloud (new pcl::PCLPointCloud2 ());pcl::PCLPointCloud2::Ptr cloud_filtered (new pcl::PCLPointCloud2 ());// Fill in the cloud datapcl::PCDReader reader;// Replace the path below with the path where you saved your filereader.read ("table_scene_lms400.pcd", *cloud); // Remember to download the file first!std::cerr << "PointCloud before filtering: " << cloud->width * cloud->height << " data points (" << pcl::getFieldsList (*cloud) << ")." << std::endl;//创建一个voxel叶大小为1cm的pcl::VoxelGrid滤波器,pcl::VoxelGrid<pcl::PCLPointCloud2> sor;  //创建滤波对象sor.setInputCloud (cloud);            //设置需要过滤的点云给滤波对象sor.setLeafSize (0.01f, 0.01f, 0.01f);  //设置滤波时创建的体素体积为1cm的立方体sor.filter (*cloud_filtered);           //执行滤波处理,存储输出std::cerr << "PointCloud after filtering: " << cloud_filtered->width * cloud_filtered->height << " data points (" << pcl::getFieldsList (*cloud_filtered) << ")." << std::endl;pcl::PCDWriter writer;writer.write ("table_scene_lms400_downsampled.pcd", *cloud_filtered, Eigen::Vector4f::Zero (), Eigen::Quaternionf::Identity (), false);return (0);
}
代码还是比较简单的,先看一下结果吧

点少了十倍。
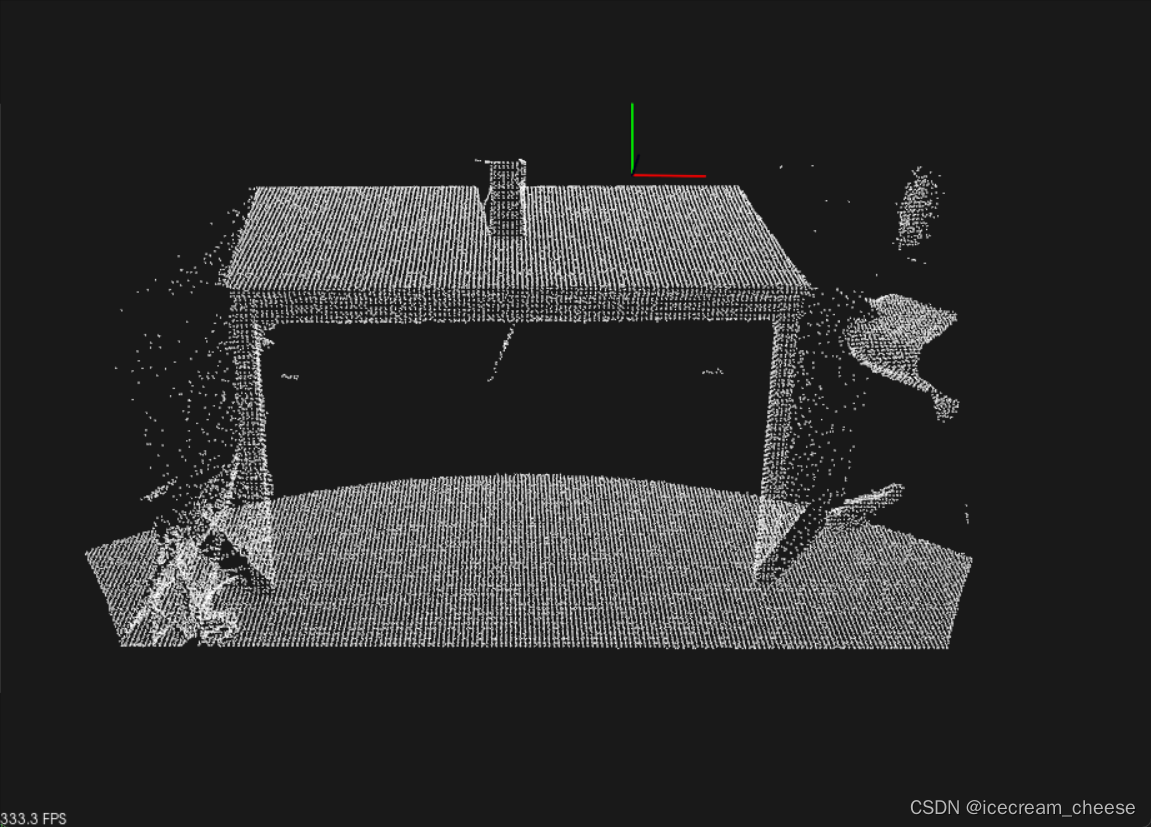
视觉效果大致如下
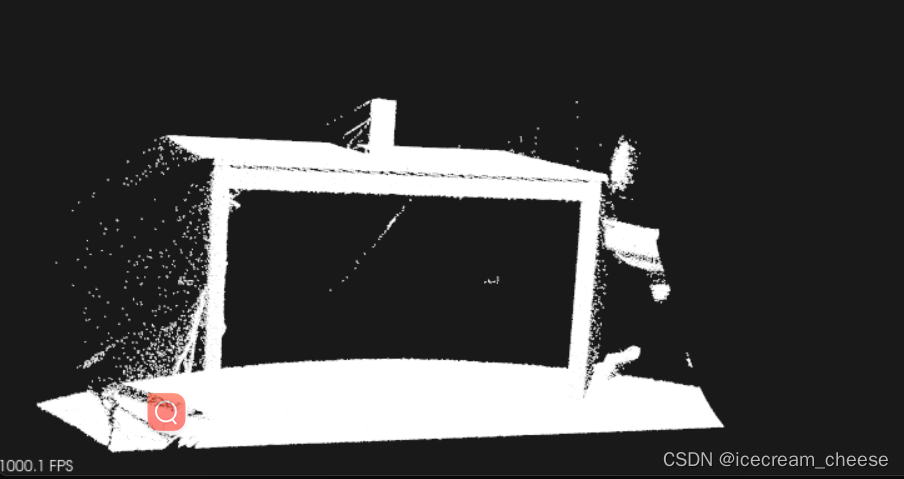
放大看效果比较明显一点
CMakeLists.txt
cmake_minimum_required(VERSION 3.5 FATAL_ERROR)project(voxel_grid)find_package(PCL 1.2 REQUIRED)include_directories(${PCL_INCLUDE_DIRS})
link_directories(${PCL_LIBRARY_DIRS})
add_definitions(${PCL_DEFINITIONS})add_executable (voxel_grid voxel_grid.cpp)
target_link_libraries (voxel_grid ${PCL_LIBRARIES})