网站开发合同样本链友咨询
PostgreSQL10数据库源码安装及plpython2u、uuid-ossp插件安装
- 1、环境
- 2、安装包下载
- 3、安装
- 3.1 、解压
- 3.2、配置
- 3.3、编译安装
- 3.4 、启动与关闭
- 4、安装 uuid-ossp 、plpython2u插件
- 5、参考
1、环境
centos 7 、 postgresql 10.19
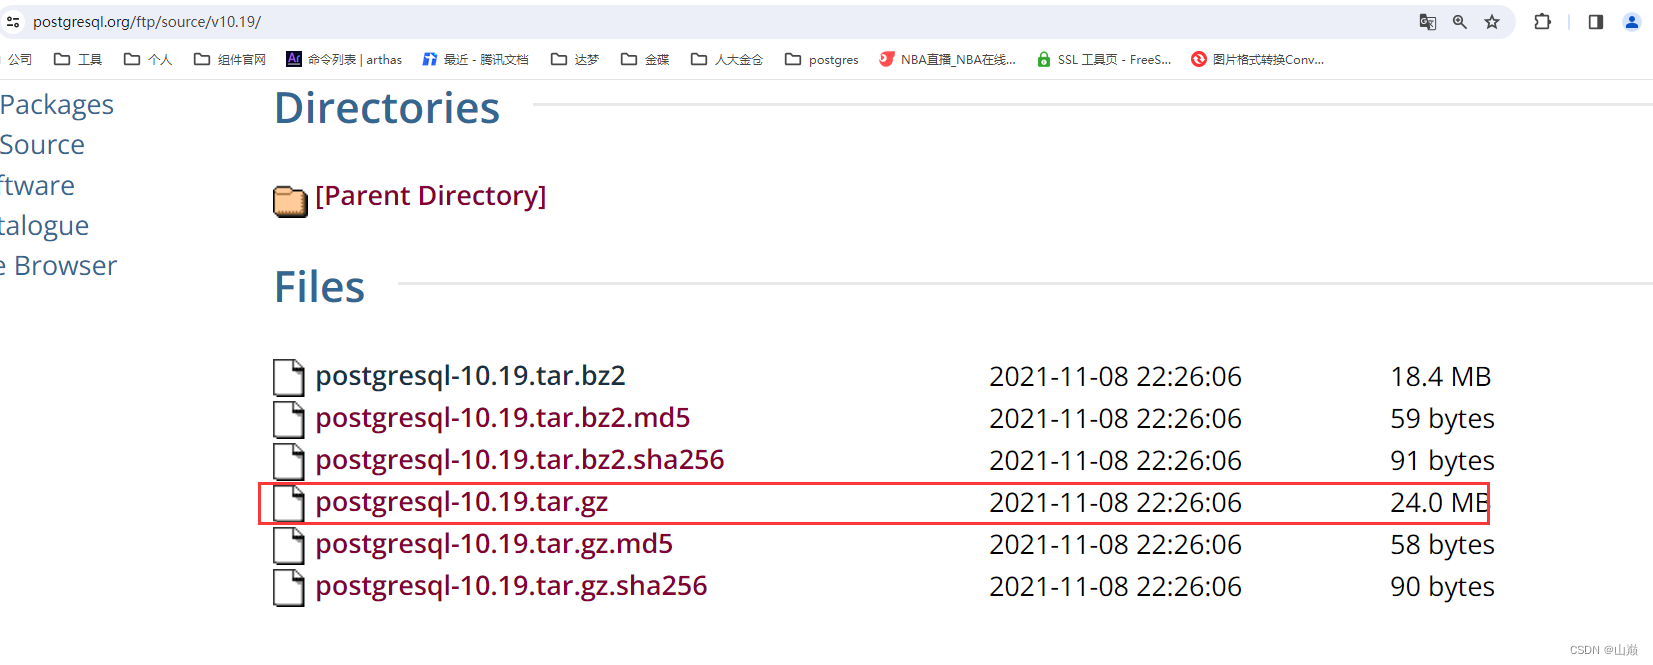
2、安装包下载
postgres 源码安装包
3、安装
3.1 、解压
cd /tmp
tar -xzvf postgresql-10.19.tar.gz
3.2、配置
注:配置的时候一定要带上这两个选项,因为后面我要安装 uuid-ossp 、plpython2u插件
–with-python
–with-uuid=ossp \
./configure \
--prefix=/pg \
--exec-prefix=/pg \
--bindir=/pg/bin \
--sysconfdir=/pg/etc \
--libdir=/pg/lib \
--includedir=/pg/include --mandir=/pg/man --docdir=/pg/doc \
--htmldir=/pg/html \
--enable-nls='zh_CN en_US' \
--with-pgport=5432 \
--with-perl \
--with-python \
--with-tcl \
--with-icu \
--with-openssl \
--with-pam \
--with-ldap \
--with-systemd \
--with-readline \
--with-libxml \
--with-libxslt \
--with-segsize=1 \
--with-blocksize=8 \
--with-wal-segsize=16 \
--with-wal-blocksize=8 \
--with-uuid=ossp \
--without-zlib
配置的过程中,会提示缺少包,需要根据提示,手动安装这些包
yum install -y gcc
yum install -y libicu-devel.x86_64
yum install -y perl-ExtUtils-Embed.noarch
yum install -y readline-devel.x86_64
yum -y install openssl-devel
yum -y install pam-devel.x86_64
yum install -y libxml2-devel.x86_64
yum install -y libxslt.x86_64
yum install -y libxslt-devel.x86_64
yum install -y openldap-devel.x86_64
yum install -y systemd-devel.x86_64
yum install -y tcl-devel.x86_64
yum install -y python-devel.x86_64
3.3、编译安装
1、编译
首先进行编译,使用make命令进行编译,如果希望编译所有的东西,包括文档(man、html)和附加模块(contrib),使用
make world
如果最后1行出现下面的描述,说明编译成功
PostgreSQL, contrib, and documentation successfully made. Ready to install.
2、安装
make install
当最后1行出现"PostgreSQL installation complete."时,说明安装成功了。
NOTE:这条命令会把文件安装到2.2指定的路径,需要确保有足够的权限向该区域写入。通常需要使用root权限操作,或者也可以事先创建目录并分配权限给相应的用户
3、创建pg用户
adduser postgres
passwd postgresmkdir -p /pg/data
chown -R postgres:postgres /pg/
4、初始化数据库
su - postgres# 初始化
/pg/bin/initdb -D /pg/data
# 或者
/pg/bin/pg_ctl -D /pg/data initdb
5、设置环境变量
在postgres用户下配置pg数据库的环境变量
[postgres@pg01 ~]$ cat .bash_profile
# .bash_profile# Get the aliases and functions
if [ -f ~/.bashrc ]; then
. ~/.bashrc
fi# User specific environment and startup programsPATH=$PATH:$HOME/.local/bin:$HOME/bin:/pg/binexport PATHexport PGHOME=/pg
export PGDATA=/pg/data
export LD_LIBRARY_PATH=/pg/lib
export MANPATH=/pg/man
export PATH=/pg/bin:$PATH
[postgres@pg01 ~]$
6、使用source命令生效
[postgres@pg01 ~]$ source .bash_profile
3.4 、启动与关闭
1、在postgresql用户下使用pg_ctl
# 1.启动数据库
/pg/bin/postgres -D /pg/data >logfile 2>&1 &
# 或者可以使用pg_ctl命令
/pg/bin/pg_ctl -D /pg/data -l /tmp/logfile start# 2.关闭数据库
/pg/bin/pg_ctl -D /pg/data -l /tmp/logfile stop# 3.查看数据库状态
/pg/bin/pg_ctl -D /pg/data status
2、使用root配置systemd管理数据库
# 1.使用root用户配置
su - rootvim /etc/systemd/system/postgresql.service[Unit]
Description=PostgreSQL database server
Documentation=man:postgres(1)[Service]
Type=notify
User=postgres
ExecStart=/pg/bin/postgres -D /pg/data
ExecReload=/bin/kill -HUP $MAINPID
KillMode=mixed
KillSignal=SIGINT
TimeoutSec=0[Install]
WantedBy=multi-user.target# 2.重新加载systemd配置
[root@pg01 pg]# systemctl daemon-reload# 3.启动、关闭、状态,使用root用户
systemctl start postgresql
systemctl stop postgresql
systemctl status postgresql# 4.配置开机自启动
systemctl enable postgresql
4、安装 uuid-ossp 、plpython2u插件
我们有时候需要像Oracle或MySQL那样可以通过函数sys_guid()或uuid()来获得uuid,如:bdf7eb80-776f-11eb-b4e3-0800277427f4。默认postgresql并没有该功能,但是可以通过扩展uuid-ossp来实现。
1、检查是否已安装扩展uuid-ossp
postgres=# select * from pg_extension;oid  | extname | extowner | extnamespace | extrelocatable | extversion | extconfig | extcondition
-------+---------+----------+--------------+----------------+------------+-----------+--------------13579 | plpgsql |       10 |           11 | f              | 1.0        |           |
(1 row)
可以看到postgresql目前没有安装uuid-ossp扩展。
2、检查是否有可用来安装的扩展uuid-ossp
查看当前可用的扩展:
postgres=# select * from pg_available_extensions;name    | default_version | installed_version |                  comment
------------+-----------------+-------------------+-------------------------------------------plpgsql    | 1.0             | 1.0               | PL/pgSQL procedural languageplperl     | 1.0             |                   | PL/Perl procedural languageplperlu    | 1.0             |                   | PL/PerlU untrusted procedural languageplpython2u | 1.0             |                   | PL/Python2U untrusted procedural languageplpythonu  | 1.0             |                   | PL/PythonU untrusted procedural language
(5 rows)
可以看到postgres目前并没有可用的uuid-ossp扩展。
此时,直接创建uuid-ossp会报错,如:
postgres=# create extension "uuid-ossp";
ERROR:  could not open extension control file "/opt/pgsql12.2/share/extension/uuid-ossp.control": No such file or directory
3、PG源码文件下编译安装扩展
3.1 安装uuid依赖包
[root@Location-01 ~]# yum -y install e2fsprogs-devel uuid uuid-devel libuuid-devel
3.2 编译安装uuid-ossp
进入扩展目录:(注意只有源码安装且要带上 --with-uuid=ossp 选项才有这个目录)
[root@VM_0_11_centos uuid-ossp]# pwd
/tmp/postgresql-10.19/contrib/uuid-ossp
[root@VM_0_11_centos uuid-ossp]# ls
expected  sql                      uuid-ossp--1.1.sql  uuid-ossp.control  uuid-ossp.so
Makefile  uuid-ossp--1.0--1.1.sql  uuid-ossp.c         uuid-ossp.o        uuid-ossp--unpackaged--1.0.sql
3.3 执行编译安装
[root@Location-01 uuid-ossp]# make && make install
3.4 创建扩展
3.4.1 查看可用扩展
postgres=# select * from pg_available_extensions;name    | default_version | installed_version |                     comment
------------+-----------------+-------------------+-------------------------------------------------plpgsql    | 1.0             | 1.0               | PL/pgSQL procedural languageplperl     | 1.0             |                   | PL/Perl procedural languageplperlu    | 1.0             |                   | PL/PerlU untrusted procedural languageplpython2u | 1.0             |                   | PL/Python2U untrusted procedural languageplpythonu  | 1.0             |                   | PL/PythonU untrusted procedural languageuuid-ossp  | 1.1             |                   | generate universally unique identifiers (UUIDs)
(6 rows)
可以看到已经有扩展uuid-ossp了。下面可以创建了。
postgres=# create extension "uuid-ossp";
CREATE EXTENSION
创建成功。
3.5 、使用扩展
安装扩展成功以后,就可以使用函数uuid_generate_v4()来生产uuid了。
postgres=# select uuid_generate_v4();uuid_generate_v4
--------------------------------------cba03532-aa87-40be-b4e2-cf2e13b71c6e
(1 row)
4、安装plpython2u插件
注意:在安装postgres库的时候一定要带上 --with-python这个选项,
postgres=# CREATE EXTENSION "plpython2u";
CREATE EXTENSION
5、参考
1、PostgreSQL10数据库源码安装
2、postgresql12下安装uuid-ossp